This is a level 4 probability activity from the Figure It Out theme series.
Click on the image to enlarge it. Click again to close. Download PDF (418 KB)
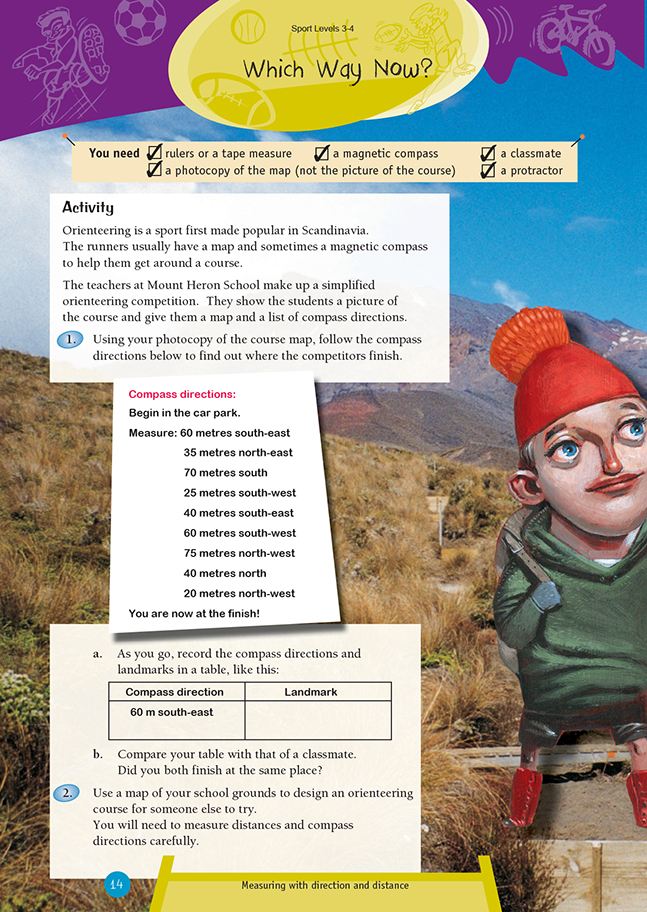
follow compass directions
read scale maps
write instructions using compass directions and map distances
FIO, Levels 3-4, Theme: Sport, Which Way Now? pages 14-15
Rulers or a tape measure
A magnetic compass
A protractor
A classmate
A copymaster of the map
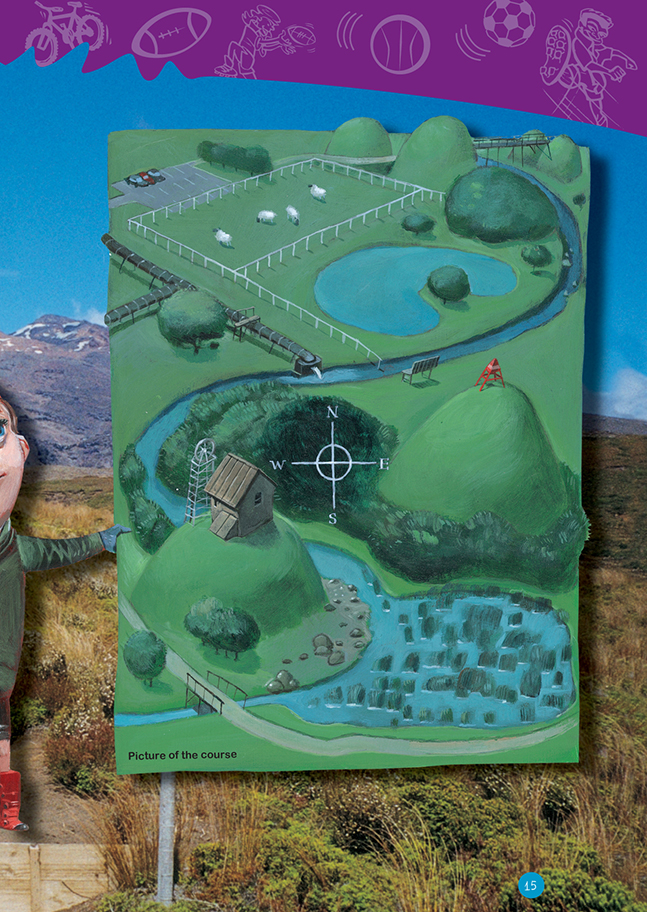
The map on the student page is a drawing, not a scale map, so the students will need to work from the copymaster provided at the back of these notes.
The needle on a compass is magnetised and points to the magnetic north pole. Although true north is about 23° off magnetic north, compasses do suffice for finding directions that do not need to be pinpoint accurate. This makes a compass ideal for outdoor pursuits such as tramping. (Some orienteering competitions require competitors to adjust for the difference between magnetic and true north.)
Directions given in degrees are relative to north in a clockwise direction. So 120° south-east contains an exact bearing (120° clockwise from north) and a reference (south-east).
.gif)
Scale is a difficult concept for students at this level to understand. It is perhaps best illustrated by drawing a 10 centimetre line on an overhead transparency. The projector can be moved closer or further away from the screen to produce different scale factors. For example, if the image of the line is 1 metre long, then it is 10 times longer than the original, so the scale factor is 1 centimetre : 10 centimetres.
The students will use the scale and their compass or protractor to find their way around the map. If they are using a compass, they will need to align north on the map with north on their compass. If they are using a protractor, they can measure the number of degrees from north that the direction is in and apply this to their map. For example, south-east is 135° clockwise from north.
The students can also use the grid lines on their maps. The vertical grid lines run from north at the top of the page to south at the bottom, and the horizontal grid lines run from west on the left of the page to east on the right.
When they are designing their own orienteering course in question 2, the students should use two methods to document the directions: recording a series of compass directions and distances and drawing the path on the scale map of the school. The map can be kept as a check for other groups of students who attempt to follow the orienteering instructions.
Answers to Activities
1. a.
b. Answers will vary.
2. Practical activity