Purpose
The purpose of this activity is to support students using ruler as a tool to measure the lengths of objects in centimetres.
Achievement Objectives
GM2-1: Create and use appropriate units and devices to measure length, area, volume and capacity, weight (mass), turn (angle), temperature, and time.
Required Resource Materials
- Place value unit cubes
- Strips of paper
- Objects suitable for measuring length in centimetres, such as pencils, crayons, or feet. These could be reflective of a context that is relevant to your students' cultural backgrounds, interests, and learning from other curriculum areas.
- Rulers
Activity
- Introduce an object to measure, such as a pencil.
How long is this pencil? How do you know? How could we find out?
Invite students to estimate. Make a shared list of the estimated measurements, suggested methods, and suggested units. Since students are usually familiar with centimetres, they are most likely to offer estimates in that unit. Explain that the prefix "centi-" means one hundredth. There are 100 centimetres in one metre. This can be demonstrated that with place value unit cubes and a one metre ruler.
- Align the beginning of the pencil with a place value unit cube. Continue building the row of cubes until you reach, approximately, the end of the pencil.
We can use these centimetre cubes to measure the length of the pencil in centimetres.
You might introduce the te reo Māori kupu mitarau, meaning centimetre.
- Ask students whether they think your measurement is accurate or not. This will be especially clear if the end of the pencil has had to be measured with part of a cube.
How could we make our measurement more accurate?
Is there another method we could use to measure the length of the pencil that would be easier than counting the cubes?
Look for students to mention using a ruler as a more accurate and efficient tool for measurement.
- Replace the pencil with a ruler orientated to measure in centimetres.
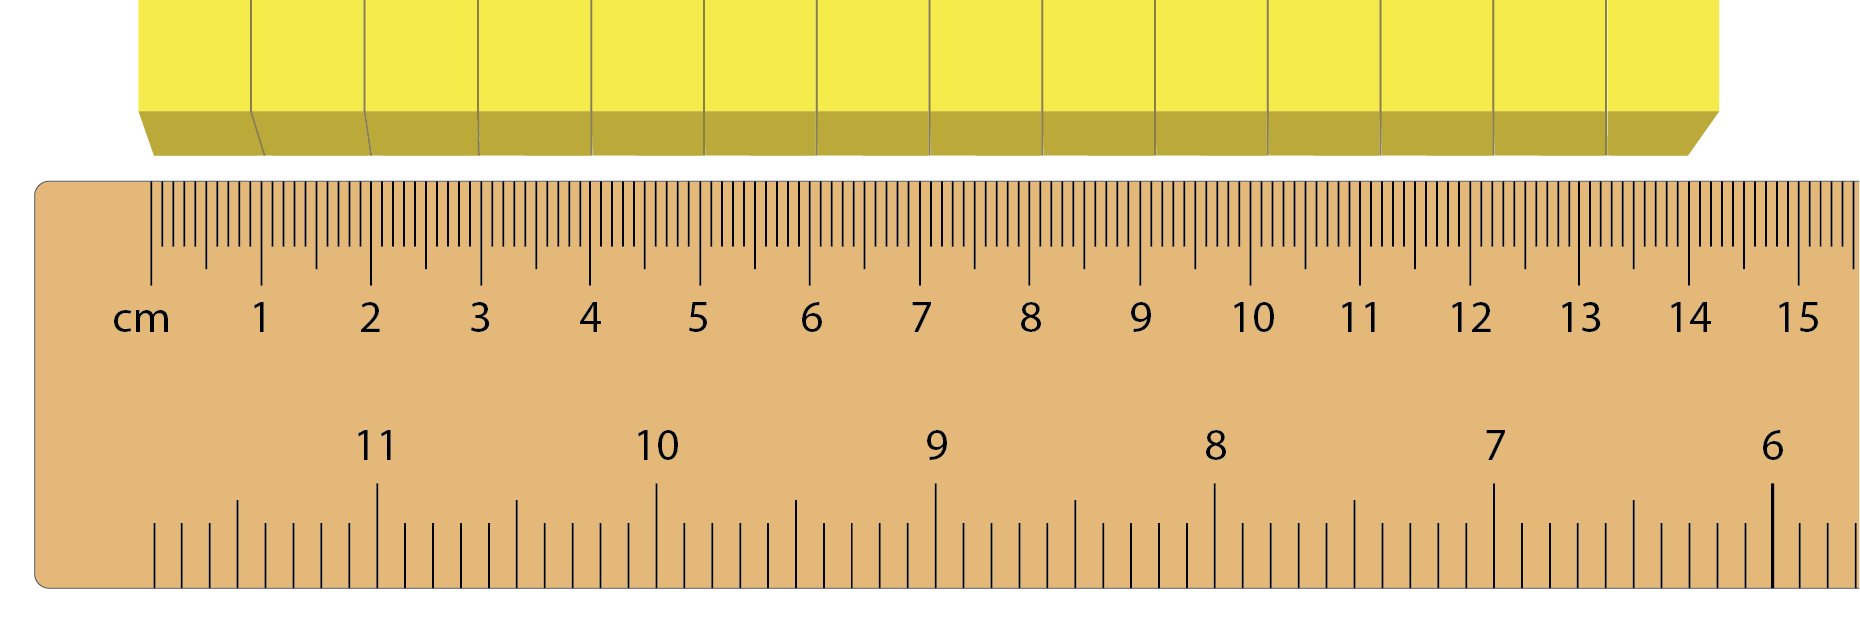
- Discuss how the ruler should be used accurately.
- Model aligning the end of the pencil with the zero mark and looking closely at where the endpoint of the object aligns with the ruler. You might do the opposite to model inaccurate measurement.
- Emphasise that the marks (ticks) on a ruler indicate the end of the units.
- If necessary, provide time for students to construct their own ruler using place value unit cubes and a strip of paper. If your students are confident using rulers to measure in centimetres, this step could be skipped.
- Give students a selection of objects to measure with a ruler. Within this task, consider what groupings will best encourage tuakana-teina and productive learning conversations. It also might be appropriate for some students to work independently, whilst others might benefit from further teacher support.
Ask students to record the measurements using correct numbers and units, such as 15 cm for 15 centimetres. Look for students to do the following as they measure:
- Attend to the baseline by aligning the zero point on the ruler with the beginning of the object.
- Recognise that the endpoint number is cumulative, meaning 15 cm indicates that 15 unit cubes could be placed along the object.
- Recognise measures that occur in between centimetre units. This might involve rounding to the closest whole number or suggesting a smaller unit of measure.
Next steps
- Explore the convention of measuring to the closest whole number of units. In general, any measure less than half-way through an interval gets rounded down, and half-way or more gets rounded up.
- Explore the joining or partitioning of measures. For example:
- Measure the lengths of two pencils separately then place them end on end. Can students predict that the combined measure is the result of addition?
- Measure the length of a pencil. Roll a rubber band part-way along the pencil. Measure from one end to the rubber band. Can students predict the length of the rubber band to the other end?
Add to plan
Level Two